
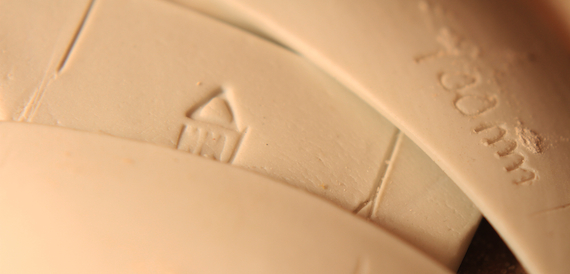
HH cone 14 porcelain clay body for throwing and hand building.
I have been asked many times why it is important for me to make my own porcelain. It is, after all easier to buy a box of clay and be done with it…no mess, no fuss. The answer I always give is simple.
I care about the quality of my work in all aspects. I also fire in reduction to cone 13 flat, or a soft 14 on the bag wall…most of the kiln is cone 12 or better…so I need good clay.
Shrinkage test on HH porcelain clay body.
I have specific demands. My porcelain must be hard, white and translucent. So it makes sense to me to start by designing a good personal clay body. If I make the clay carefully, age it well, and look after the drying of it, I end up with a very fine clay body that will perform well in every aspect of making. If your definitions of porcelain are different than mine, feel free to substitute different materials to satisfy that need…this only makes sense as we all make personal choices. This method is very adaptable…I made stoneware this way 45 years ago, so it works with any clay body.
I also know that it costs about a third less than the prepared clays, and performs better. I feel quite smug, knowing that I am not paying for rainwater, which is about a third of the mix. I also know from experience that I can make enough clay [1000 dry pounds] to last me for a year, in a day, with less mess than you might think.
Many times, potters have mentioned to me, that my ways are a lot more laborious…I have to wedge the clay by hand, and adjust the density for various needs…all true. I am almost seventy years old, and can still do all that needs to be done…the sheer exercise of all of it is a good thing for any human being…I am glad that I do not have any machines to clean, or fix or listen to. Preparing clay for work, clears the cobwebs of doubt, and allows for clear, creative thinking. You could ask for more, but don’t.
Perhaps one of the most important aspects of making your own glazes and clay bodies is that the complaint buck stops right on your own doorstep. You cannot blame the clay if you made it…so that blame game gets stopped completely. Nice!
The formula for my cone 14 HH porcelain throwing clay-body is as follows in pounds, grams or kilograms…whatever you are working with as long as it is consistent. Note, I have a supply of old pre 2009 G200 feldspar. Table 1 uses this material. If you do not have this, you will have to use a combination of F4 soda spar and G200 pot spar in Table 2. You will also require about 25 L or 6.5 US gal of water for every 100 lbs or 45.35 kg of material used.
Table 1. Cone 14 Clay Body using G200 purchased before 2009
| Clay Body Component | lbs | Note |
|---|---|---|
| Grolleg Kaolin | 53 | – |
| G200 Potash Feldspar | 23 | *Using G200 purchased before 2009 |
| 40um Silica | 24 | – |
| Volclay Bentonite | 3 | – |
Table 2. Cone 14 Clay Body – Modern G200 purchased after 2009
| Clay Body Component | lbs | Note |
|---|---|---|
| Grolleg Kaolin | 53 | – |
| G200 Potash Feldspar | 16.1 | *Used only if G200 was purchased AFTER 2009 |
| F4 Soda Feldspar | 6.9 | Used only if G200 was purchased AFTER 2009 |
| 40um Silica | 24 | – |
| Volclay Bentonite | 3 | – |
The easiest way to mix these materials is to either make a plywood box, or find some kind of hard plastic kids swimming pool, or if you are lucky, find a masons tub…looks like a very low bathtub made of heavy plastic. I have an old throw-out farmers stainless Steel bulk milk tank that I use to make and store slip in. Depending on the size of your tub, and the size of your mix…put the materials together and thoroughly mix them. Wear a dust mask at all times when using dry materials. Use a mason’s hoe, or a good clean garden rake. Mix really well…even excessively well.
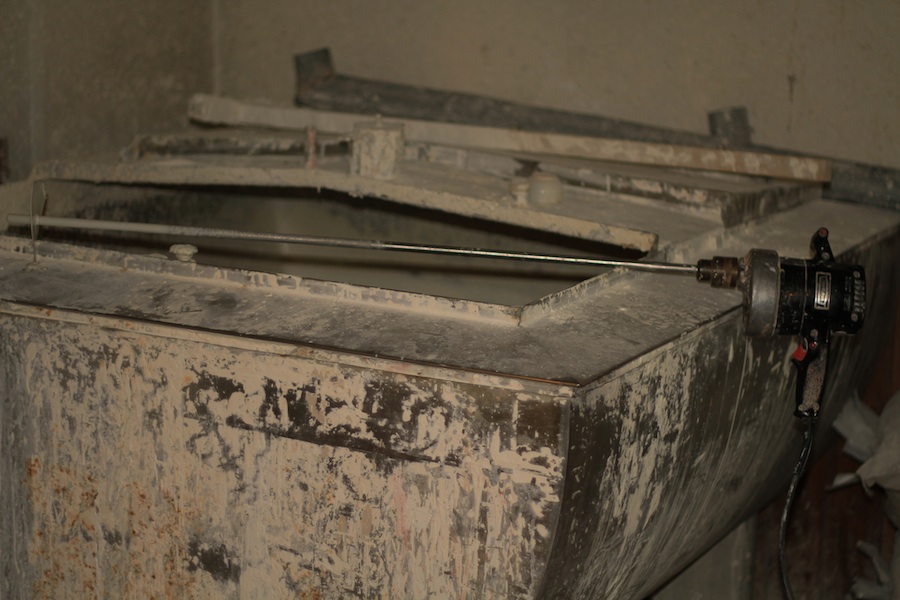
Stainless steel bulk milk tank for slip.
You are now ready to fill your storage container. Big plastic 45 gallon drums with their tops cut off are wonderful…remember to have them very clean…who knows what might have been in them if they are used. Plastic garbage cans are good too, and come with lids. If you have to move them around, now is a good time to make a dolly so you can move them easily. Whatever your container is, fill it with about one third of rain water, and then add your mixed dry materials to that. My last batch of clay was 500 dry pounds, and with the water it will almost fill two 45-gallon barrels…so about 15 gallons of water was added to each barrel. The water is a bit of guessing game, but in this case more is just fine, as it makes it easier to mix by hand. In the end, the solids will settle, and you can decant the water making the slip a bit thicker. Cover and you are done for a while
In a few days, mix the slip well with a paddle, or a blunger of some kind. You may need to add water at this time if the mix is too thick. Masons, and drywall mixers on the end of a drill work wonders. Keep them clean, and rust free.
 Re-jigged drill press made into a blunger. |
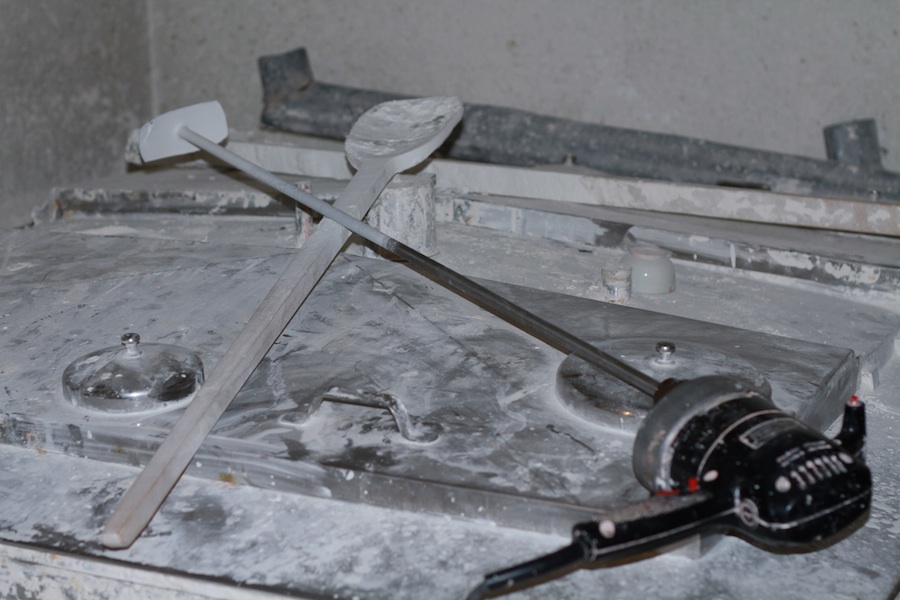 Soup ladle and blunging rig. |
|---|
Now wait for as long as you can, as the aging process starts. After a month or two, blunge again. At this stage, you can transfer the slip to another container, and in the process screen it for any lumps or foreign objects…things happen…bottle caps, stones, etc. Aluminum window screen stretched and stapled over a 1×2 wooden frame works nicely. At this stage, it should be somewhat deflocculated, and will pour easily, making screening very easy. The Specific Gravity should be 1.40 or close.
After it is screened, add at least four litres/quarts of vinegar to each 250 pounds of dry material. You will notice the immediate thickening of the mix…the acid is now making the clay flocculate making it workable. I prefer cider vinegar because there is always a little residual organic matter from the apples in it, and this speeds up the ageing/rotting process. If you cannot get cider vinegar, use what you can find, as it is the acid that you are looking for to promote flocculation
If you can wait another month or two [I age mine for at least six months and usually for a year or more] the clay will improve, but if not it should be OK to work with, albeit a bit short. It does improve with age. As it ages, water will rise to the top of the container. Siphon or sponge this off, as it will eventually quicken the drying time in the bats.
The reason for using rainwater over chlorinated tap water is that the chlorine impedes the ageing process. If you only have chlorinated water available to you, fill buckets with the water and leave them open in the sunshine for a few days…most of the chlorine will evaporate.
If you can keep your trimmings, and you should, dry them out completely and only then add them to water, making a slip. This slip can be added to your new clay slip. It can also be dried by itself, and wedged into the new body. It will give it improved ‘age’ qualities and will cut your overhead and time by at least 1/3. You may need to add a litre of vinegar with your trimming slip to increase the acid in the mix. It is also a good idea to screen it before drying it, or adding to your new slip. We tend to forget or loose things, and it always seems to end up in the trimmings!
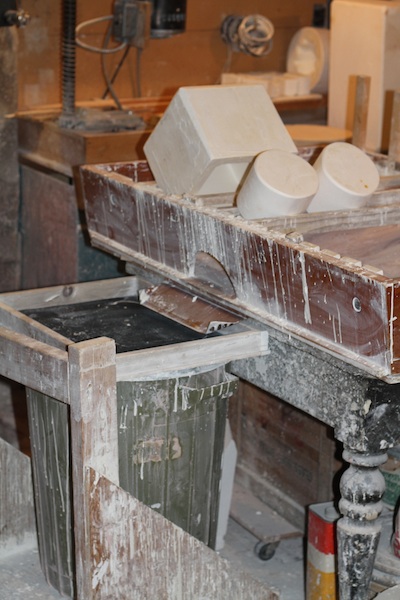
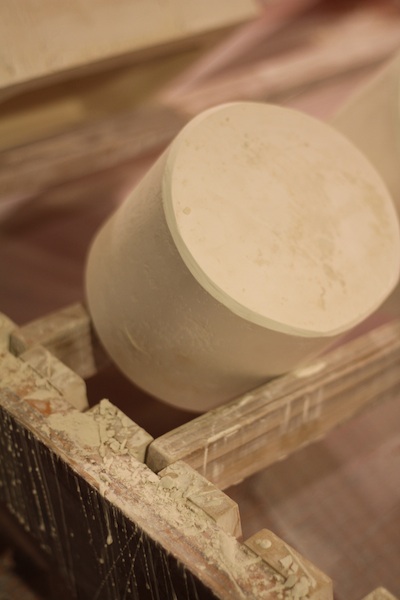
A word about how to dry your slip might be helpful. I have made plaster tubs that hold about 20 pounds of slip. It takes a few days to dry, but is easy to do. The sharp edges dry first, and come away from the plaster. These edges need to be softened or rounded by hand, so that there are no really hard bits in your throwing body. Do not be tempted to use a fan…it will create more problems than it solves. If the clay coming out of the tub dryer is too soft, and it probably will be, stack plaster throwing bats with a few pounds of clay between each to finish. This gives you great flexibility when it comes to throwing whatever you want…stiff clay for larger pieces or softer if you prefer that…and no more complaints. I take these cookies of clay, and cut and slam wedge them into a perfect throwing body. More on that technique later.
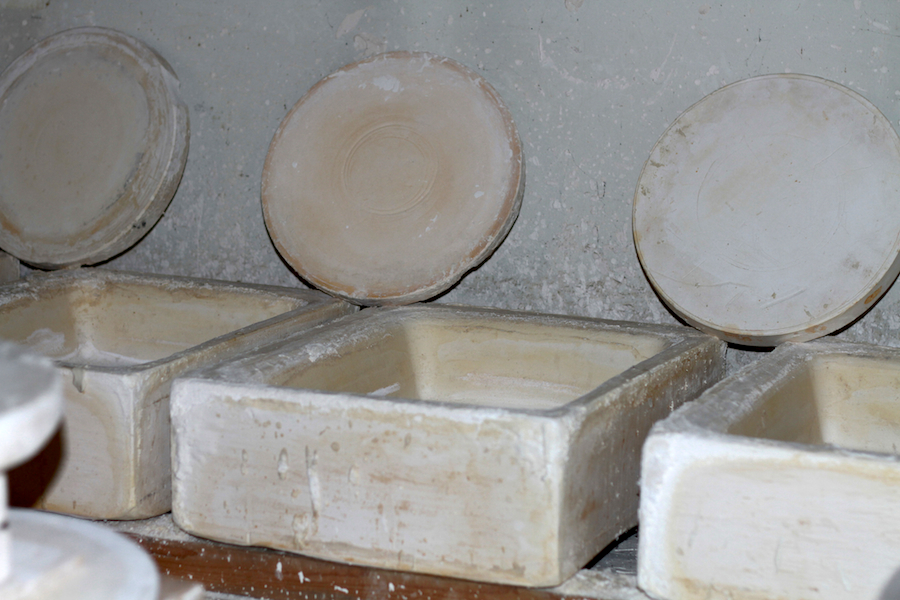
My plaster bats and drying tubs.
I used to put porous building bricks on a table, line it with canvas and pour slip on to it. It worked very well. I also have filled cloth flower sacks with slip and hung them in the studio to dry. The legs of blue jeans work very well if you have a spare set. Just tie a rope around the bottom, and fill up the leg, then using the same piece of rope tie off the top. Now you have a handle to hang it by. Drying varies in the different months, and in different places, but you will find out what works best by trying it out.
HH cone 14 porcelain casting slip.
Table 3 provides a list of ingredients I use for making a batch of Harlan House cone 14 porcelain casting slip using my old G200. Table 4 provides a modified list for modern G200. These formula are compatible with the throwing body, as they have almost the same formula minus the Bentonite.
Table 3. Cone 14 Porcelain Casting Slip – G200 purchased BEFORE 2009
| Porcelain Slip Component | lbs | Note |
|---|---|---|
| Water | 40 | – |
| Darvan #7 | 0.385 (or 6.172 ounces) | – |
| Grolleg Kaolin | 55 | – |
| G200 Potash Feldspar | 25 | *Used only if G200 was purchased Before 2009 |
| 40um Silica | 25 | – |
Table 4. Cone 14 Porcelain Casting Slip – Modern G200 purchased AFTER 2009
| Porcelain Slip Component | lbs | Note |
|---|---|---|
| Water | 40 | – |
| Darvan #7 | 0.385 (or 6.172 ounces) | – |
| Grolleg Kaolin | 55 | – |
| G200 Potash Feldspar | 17.5 | *Used only if G200 was purchased AFTER 2009 |
| F4 Soda Feldspar | 7.5 | Used only if G200 was purchased AFTER 2009 |
| 40um Silica | 25 | – |
Start by adding 40 lbs of room temperature water. Add the Darvan # 7. Blunge this mixture for a few moments. Add the Grolleg Kaolin to the water with the blunger on, and blunge until it is in slurry, and then add the G200 feldspar (and soda feldspar if required), followed by the 40micron silica.
After blunging for a half of and hour, allow the slip to sit for two days in a warm place. Blunge it again and take out 100 cc of the slip. Weigh this slip. It should weigh 180 grams, but anything above 170 will probably work so there is flexibility in this system. If the weight is OK but the slip is too fat, either increase the temperature of the slip by putting it near a heat source overnight, or add very small amounts of Darvan # 7 in a little water until it is usable. If the slip weighs over 180 add water in small amounts until you get to 1.80 specific gravity. This slip will definitely improve with age, and should be left for at least two weeks to a month before using.
 Drain cast setup with screen over slip return. |
 Denting detail for drain casting a mold. |
|---|
I can not put too much emphasis on keeping your slip warm, and keeping your molds warm too…casting slip does not like to be cool at all, and will not perform well at all…it will tell you in no uncertain terms that “I like to be warm”.
Casting slip also likes to be blunged before each pour of slip no matter how many days or even hours between pours. It is also a good idea to screen the slip as it comes from the molds back into the slip tank…a small amount of plaster chipped off a mold will alter the slip and make it impossible to use.