

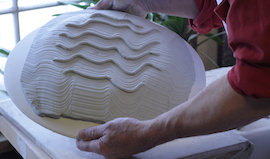
I have wanted to do this forever. Anyone that has thrown a cup or bowl off the hump, on a potter’s wheel knows the lovely mark of a piece of twisted thread that appears on the bottom of the piece as you cut it off.…it is process and beauty all at once. I tried to get this “mark” on the top of dinner wares, but for any number of reasons it just never worked. One of the big reasons was unity. I could not figure out how to make marks on both sides of the plates that have equal importance and energy. The idea just went into compost. Until now.
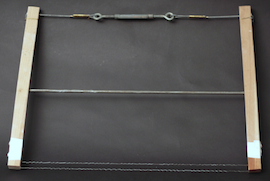
My new tool based on an old saw design.
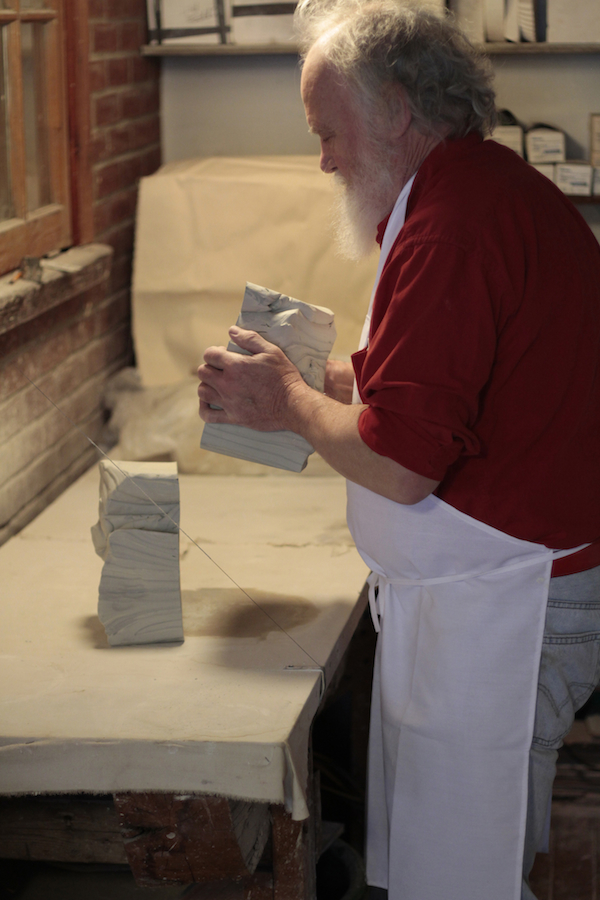
The beginning point for these dishes is the way that I wedge clay. Many years ago, I found that the cut and slam method of mixing clays of different specific gravity i.e. Hardness or softness, was also a good way to wedge. I like my porcelain just a bit dryer than some potters, so the Asian way of spiral wedging does not work very well. As it turns out, my way is also the way the Renaissance German potters wedged their clay when making salt glazed wares, so tradition lives on. My peasant lineage has German in it, so I like this little bit of linkage.
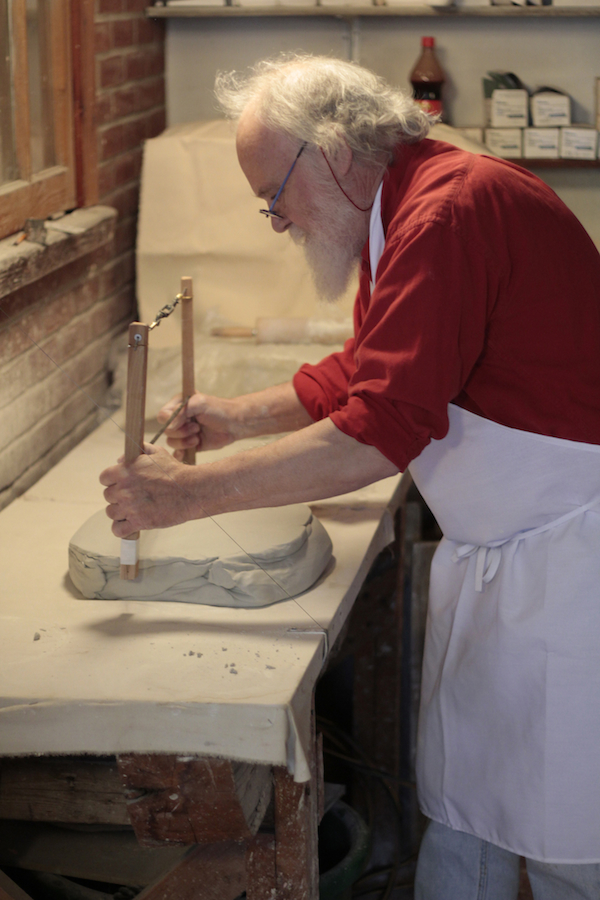
Once the lump of clay is wedged, I slam it down into the diameter that I want for the hump mold. The slab is cut with a unique tool (based on a saw design), and carried to the mold. Feet are added, and a plate is made. There is a lot of baby-sitting. The drying room is critical for this type of work. It must have a relative humidity of about 80 to 90%, and the temperature should be warm…25 deg. C. or about 75 deg. F. most of the time. In those conditions, the porcelain dries from the inside out at the same time…cutting down dramatically on cracking. The first day or two of drying takes place on the hump mold. When the initial slab is leather hard, it can be flipped to service side up on a dry wall slab. Drying time in those conditions should take about 10 days minimum.
 Once dry, the sharp edges need to be carefully sponged to slightly round edges so they don’t cut or chip easily…these are after all functional dinner plates. I don’t want to spoil the cutting lines by over-sponging, but the edges do get a lot of attention, without spoiling the natural forms given to it by the shape of the wedged clay.
Once dry, and in the bisque kiln, they are very slowly warmed…one full day to 100 deg. C. or 212 deg. F and then the usual bisque. The glaze technique is normal for me. The application of my celadon is a bit thicker than normal as I want an unctuous, fatty feeling on both sides.
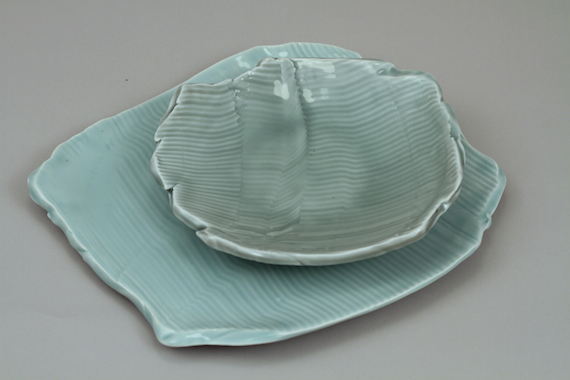 In the end, I have a dinner service that looks like someone cared about each and every surface. The dinner ware is heavy and durable, and each piece is absolutely unique but not so much as to destroy the idea of a “set”. I want my dinner guests to be honored as individuals by having individual platters and bowls. I also want the person who washes the dishes to like the underside as much as the service side, and I want them to handle the ware with confidence and joy. Eating and cooking together is basic human activity, and all aspects of it should be enjoyed.
Harlan